Last Updated 08/2006
Oh My God - don't do this!
The idea for this project came about when my fan button broke. The dealer sold me the whole panel as shown below for $22. It had some neon marker on it to demill the faceplate itself. I figured I'd just clean the marker off and replace the plate and it'd look new. It did, but it took a while...
I used some 3M adhesive remover (a quart can has
lasted over 10 years) to remove the marker. Looks new, and the solvent
didn't damage the factory plastic at all.
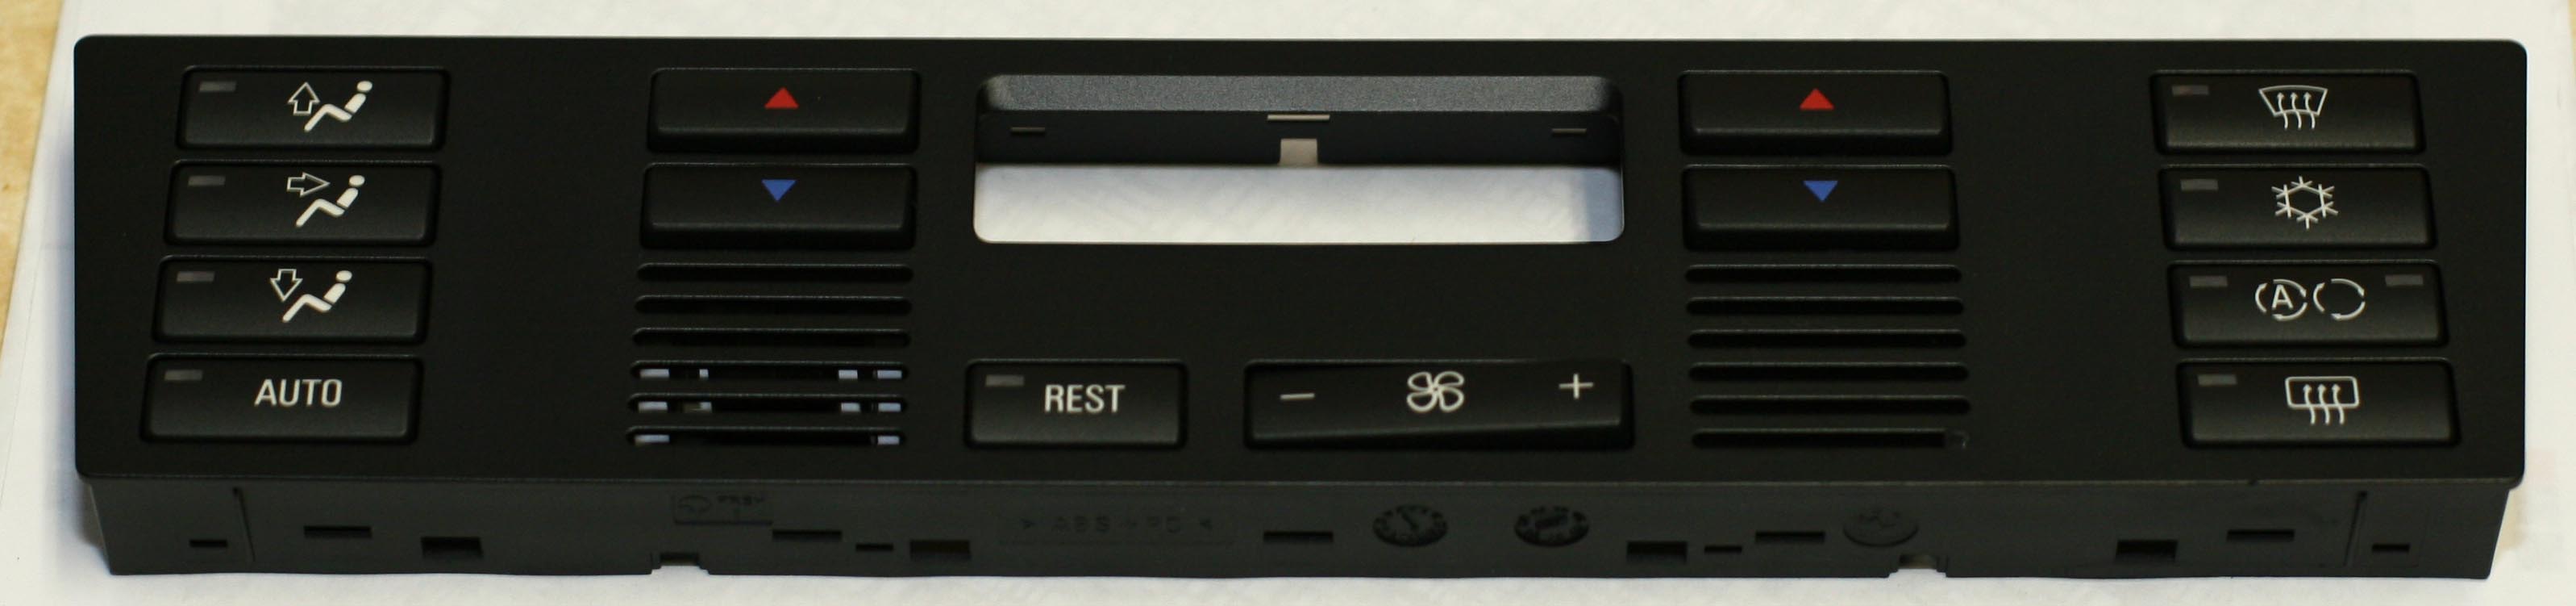
New Faceplate After Cleaning
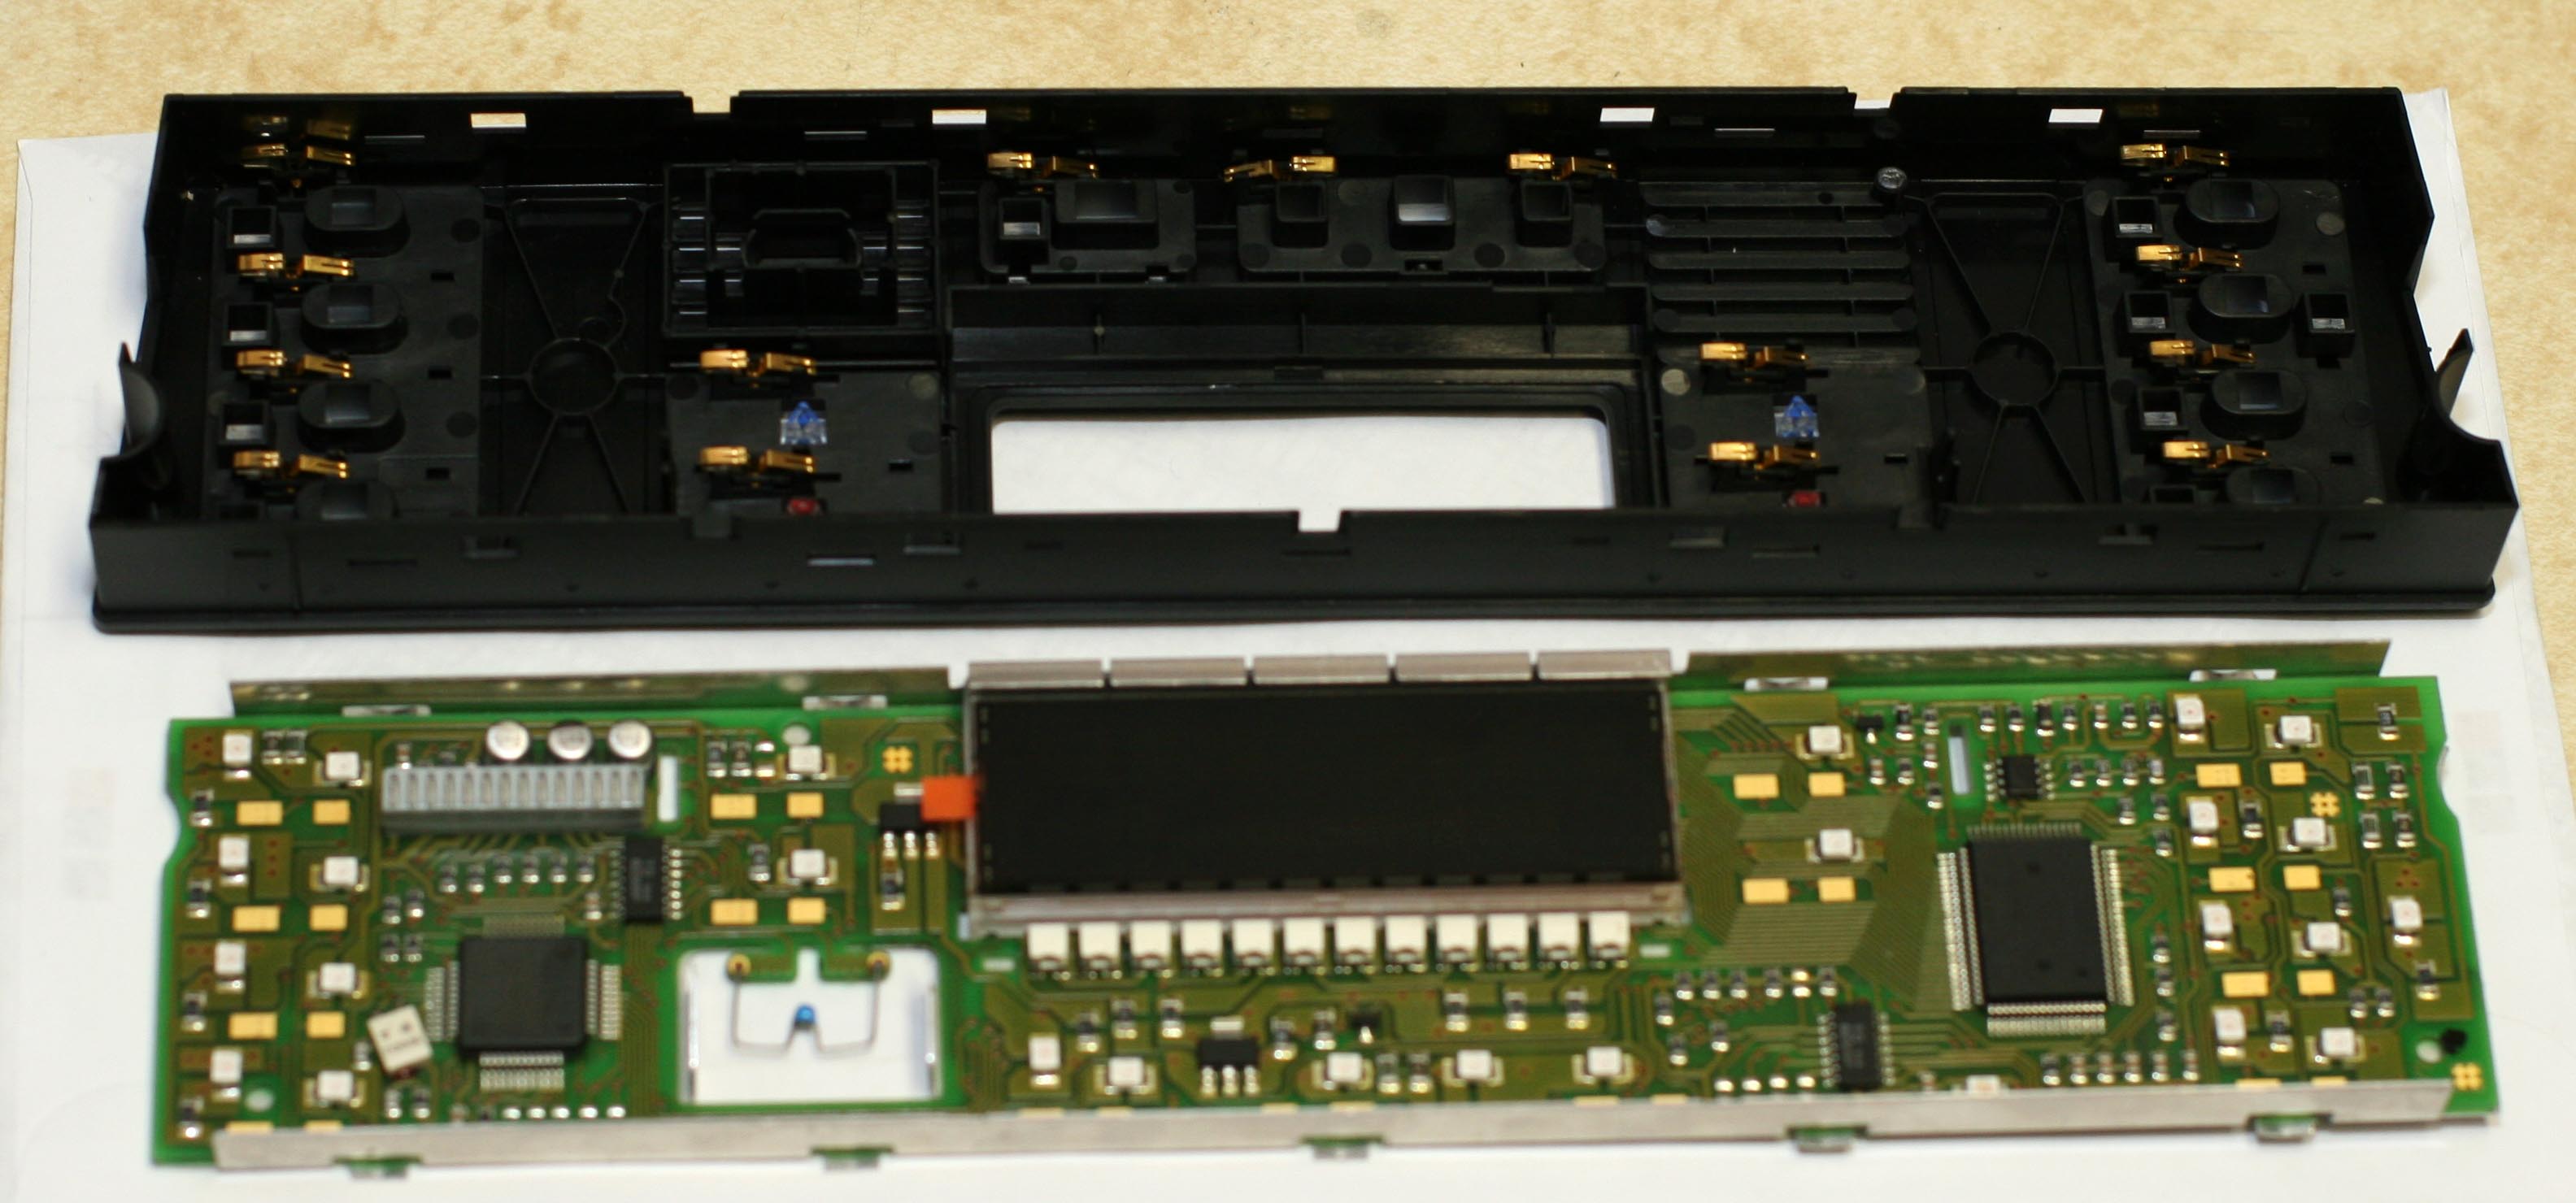
OK, it's easy to get the whole HVAC out. Just insert a hook tool in the vent
and pull. And it did give me a chance to clean the accumulated Coke from the
circuit board and clean the dirt out of the fan that pulls interior air
across the temp sensor. But it just ain't worth it no matter how bad your
current panel looks. Seriously!
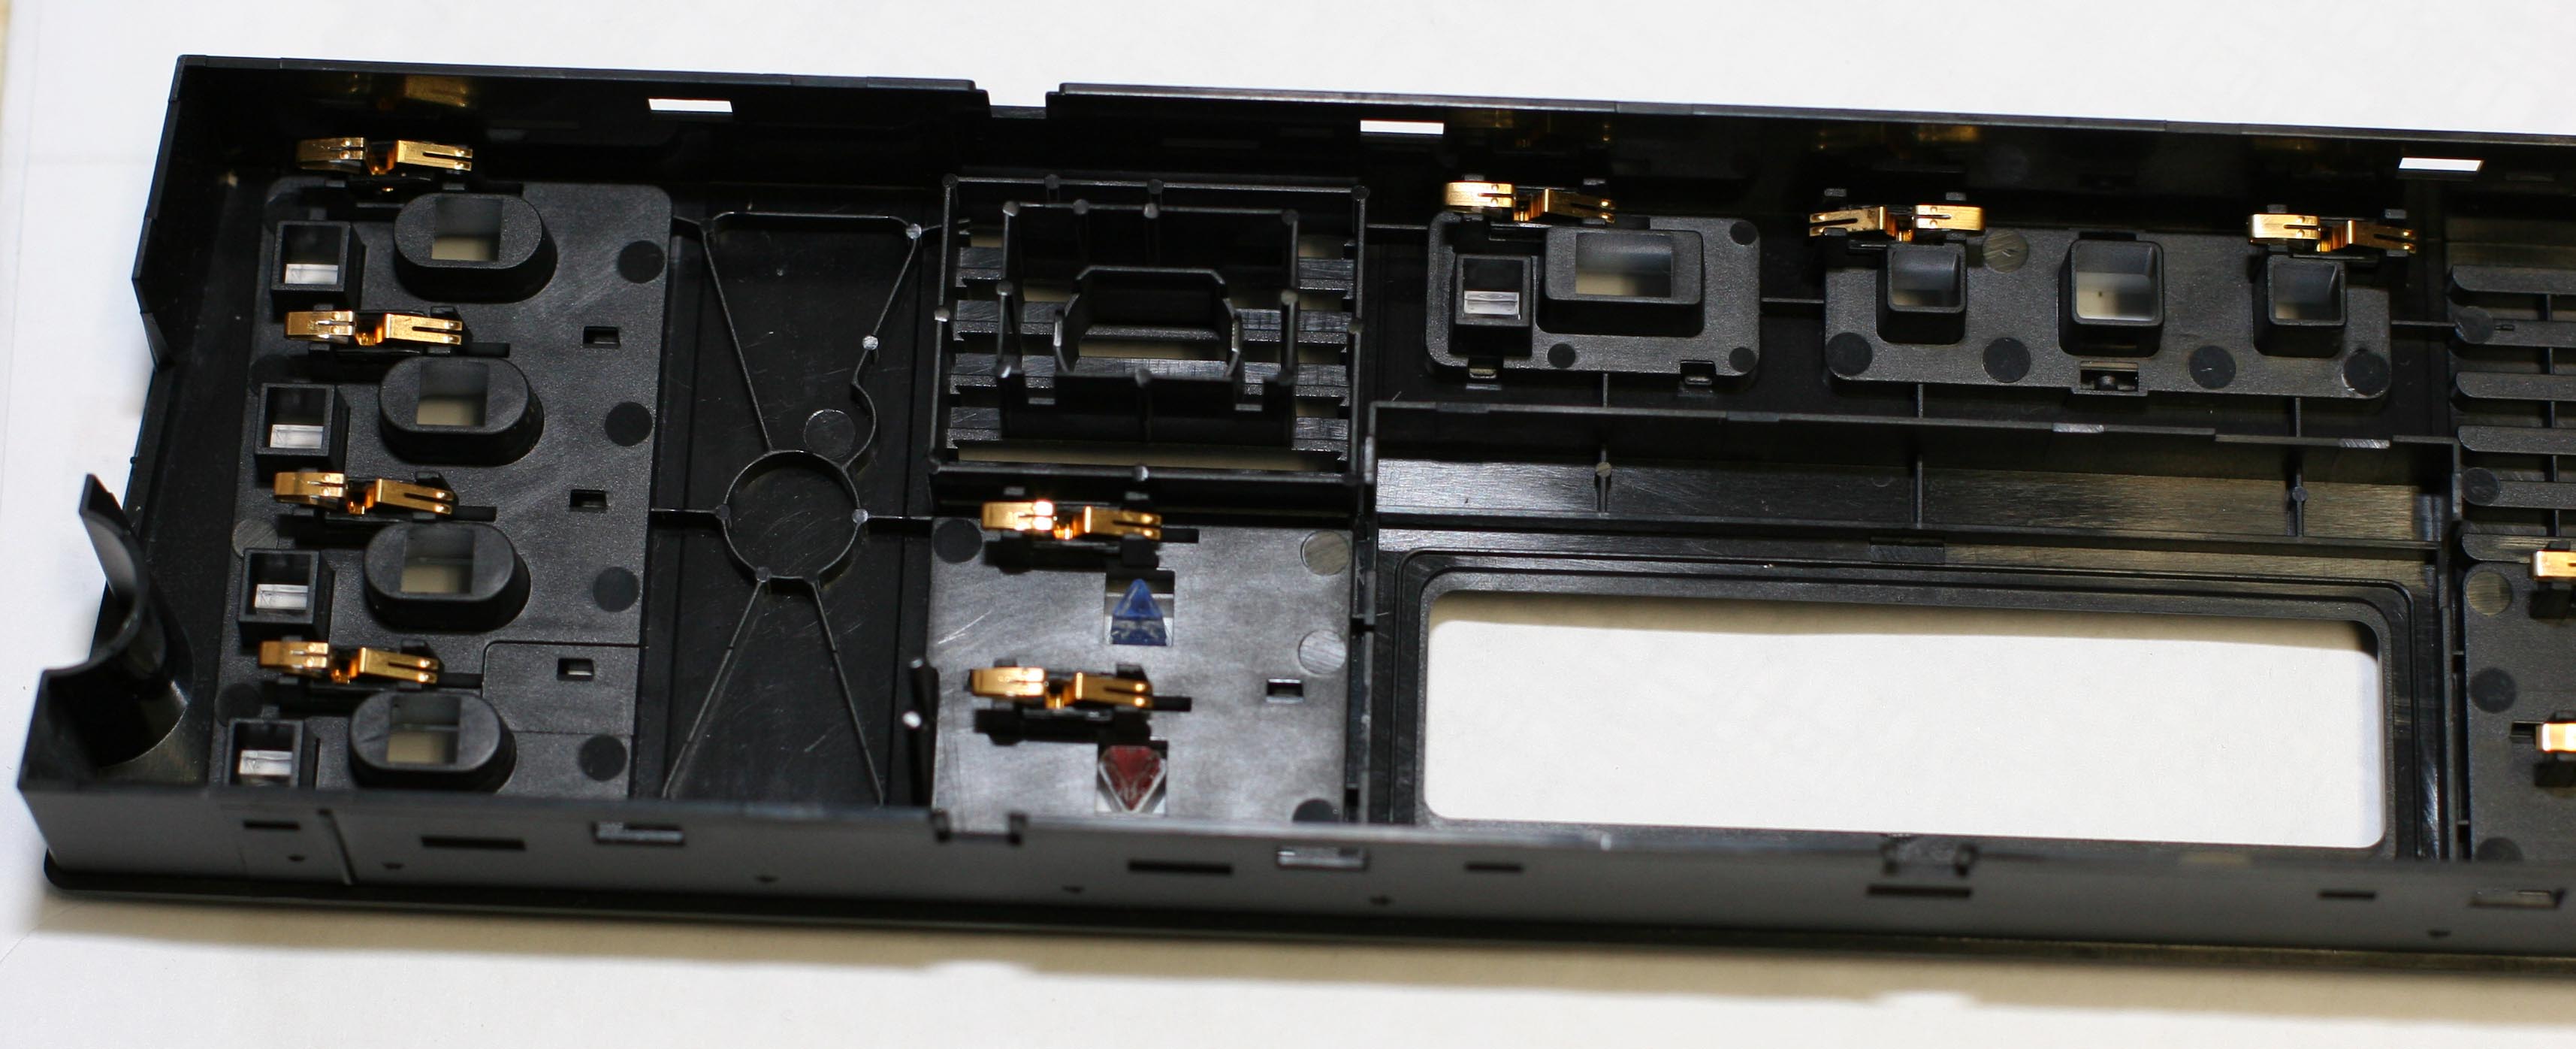
It's not just a snap-on plate. Looks that way, but it ain't! There are small
copper springy switch contacts behind each button, and they're really hard
to get to stay in place when reassembling. If you decide to do this, do it
during the day so you can find all the copper things when they go flying. If
it weren't for my portable night sun, I wouldn't have found all of them.
Next, do this inside, not in the car. The front panel just slides off once
the thing is out of the car. Take it inside!
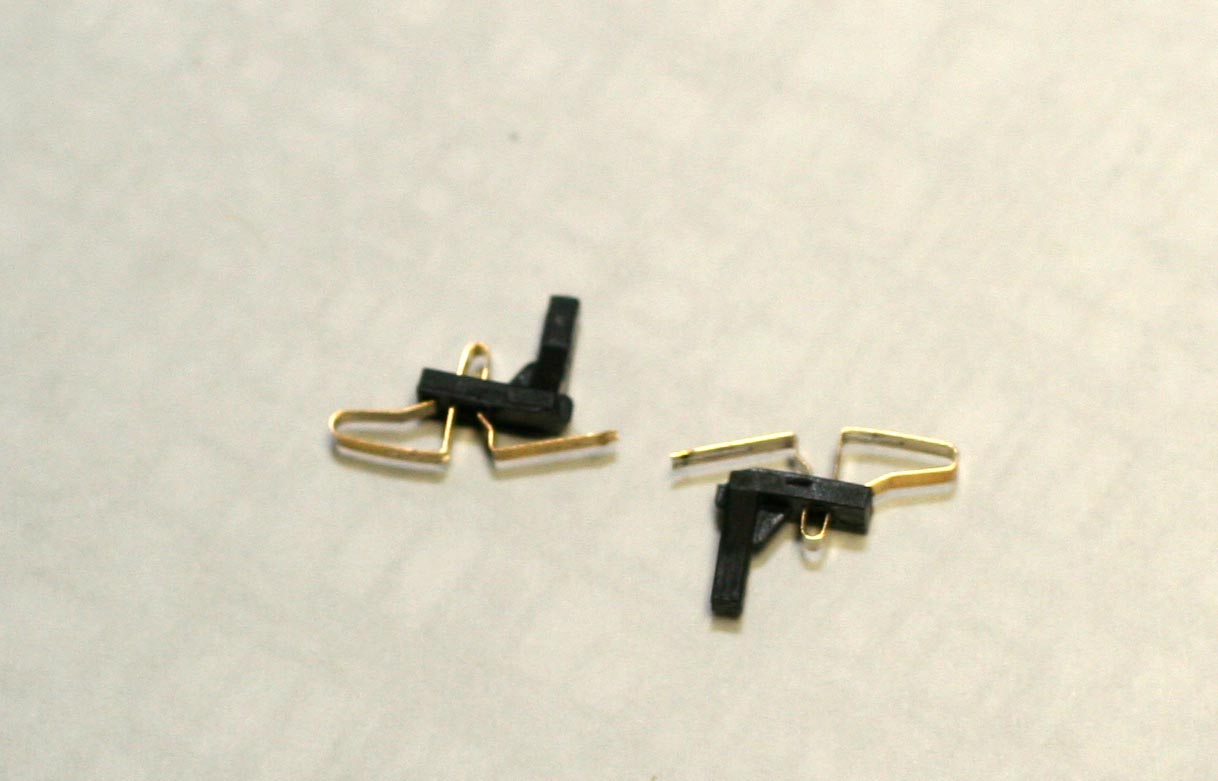
Closeup of Switch Contacts
From the factory, the red up temp buttons don't work. I had to remove the
buttons and cut the black plastic ovals out. Worked OK after that. Blue
buttons didn't need to be modded. Go figure.
It's easy to remove the silver backing plate from the front panel. The hard
part was getting it back. I had to bend all 10 tabs backward, slide the
backer panel in place, then bend the tabs back so that they snapped into
place.
Cleaned and ready to be reassembled
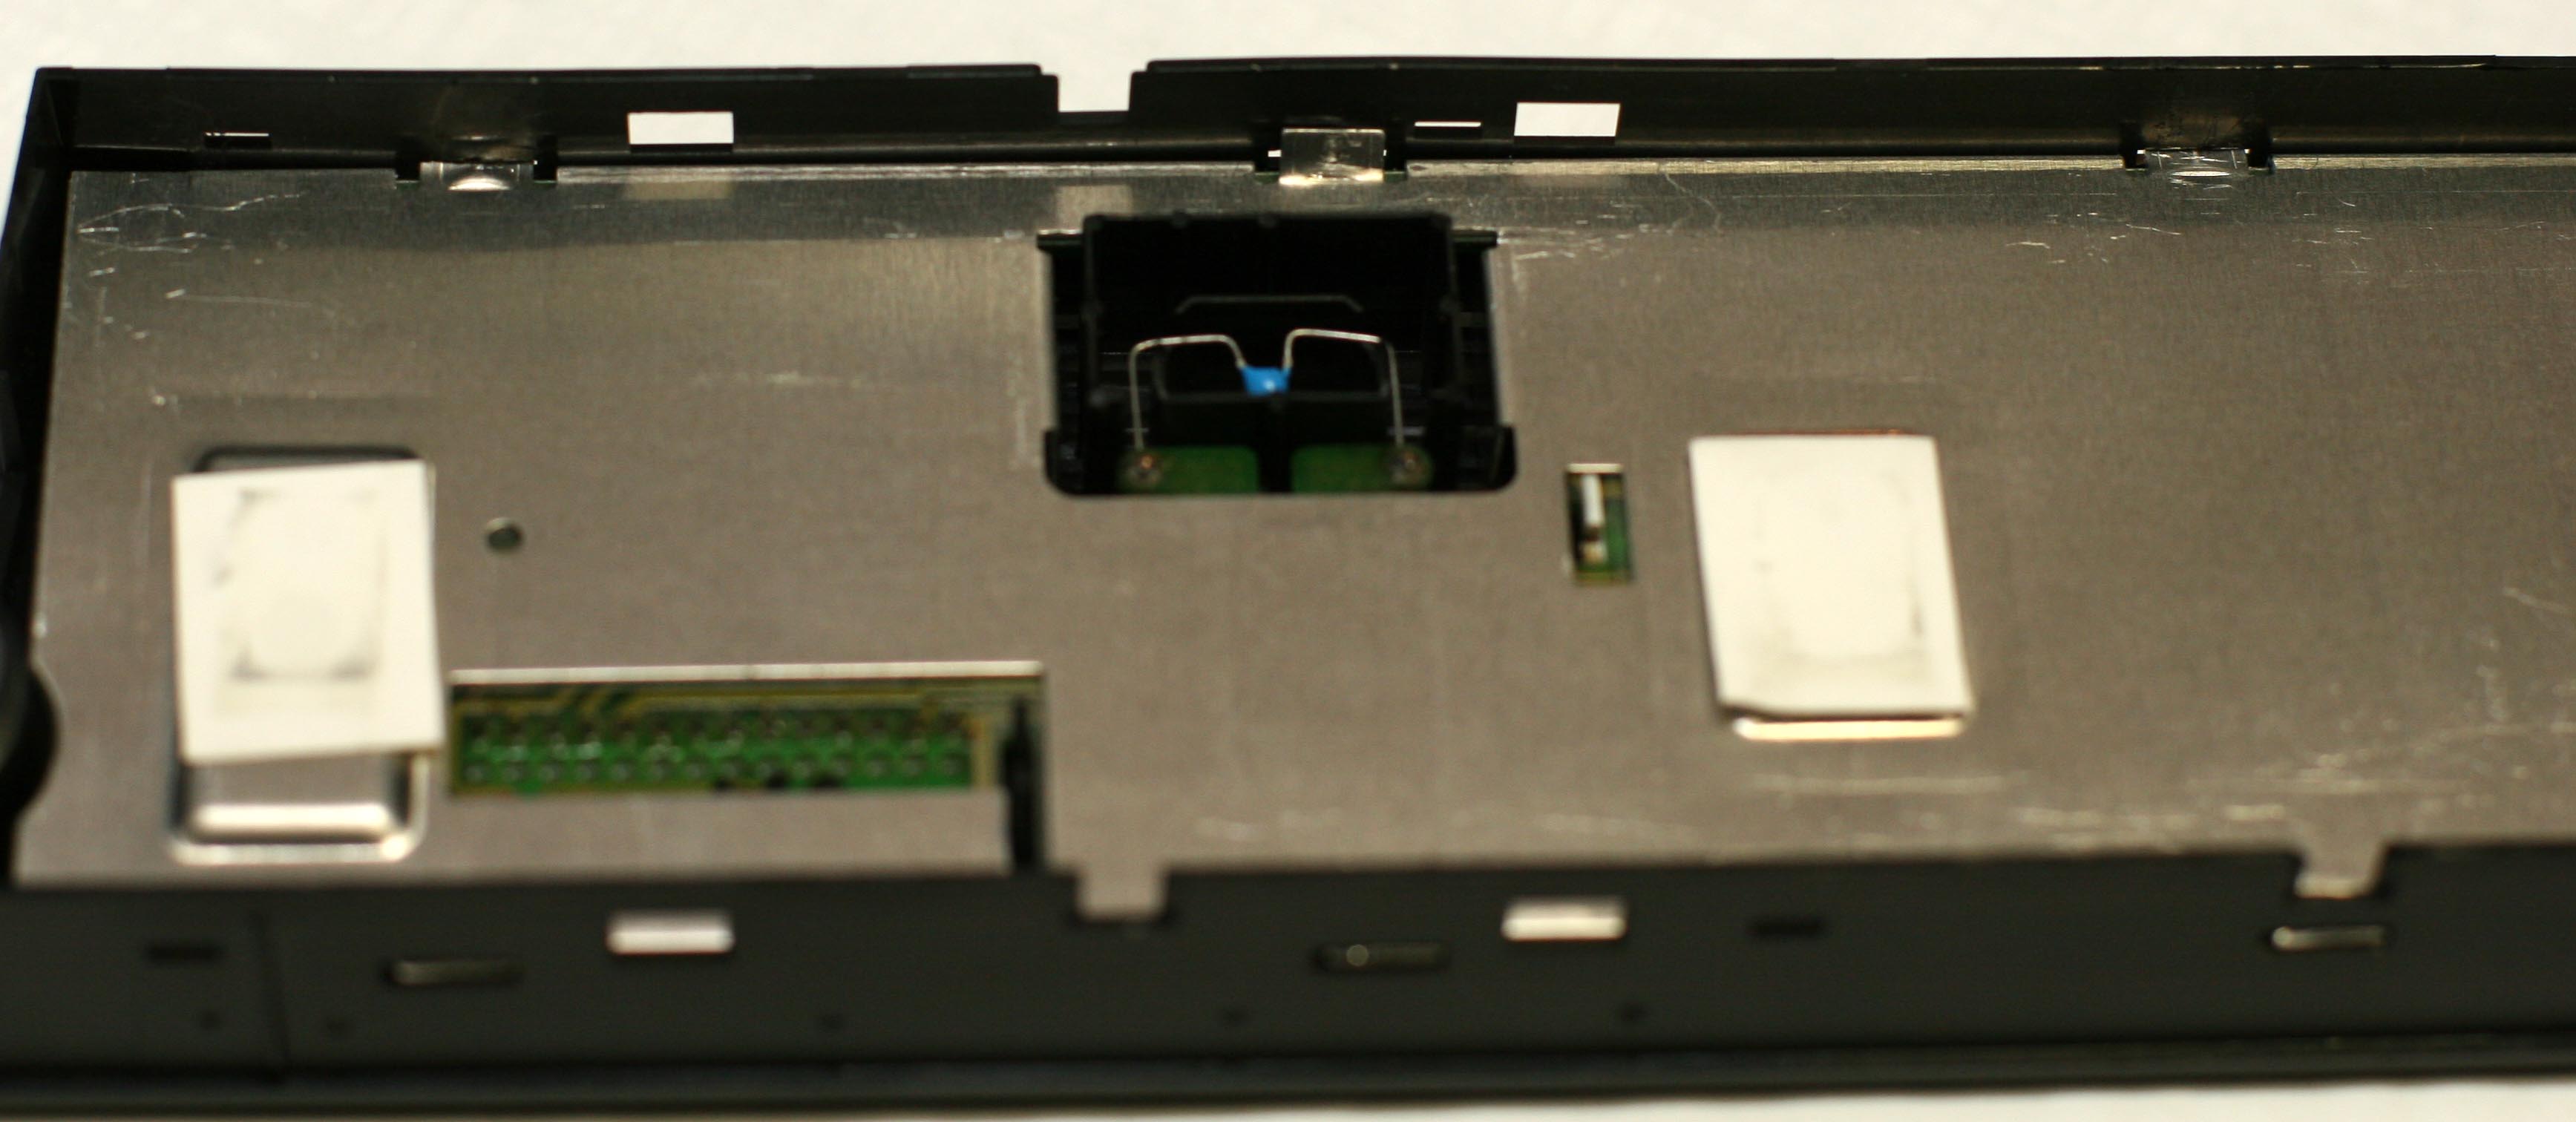
See bent tab above thermistor (blue thing)
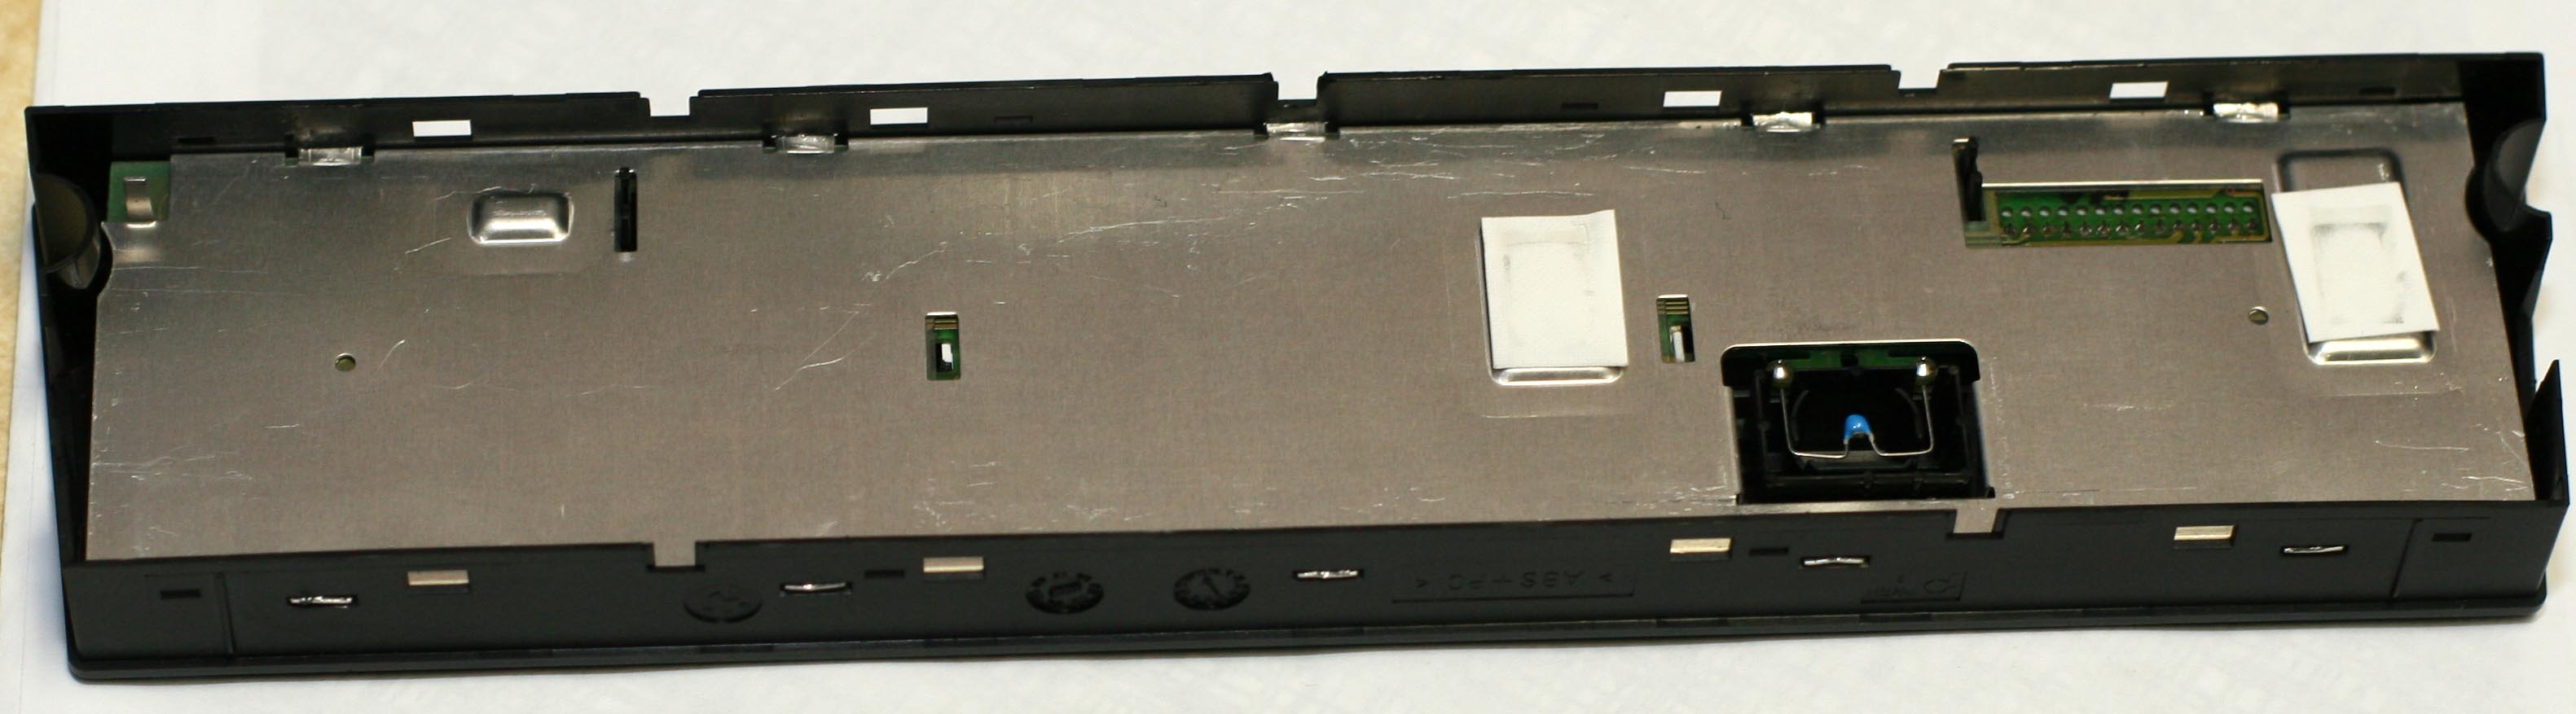
Tabs after bending into place
It worked, but I'm an electrical engineer who does this sort of thing all
the time, and it was one of the harder electronic components I've ever dealt
with.
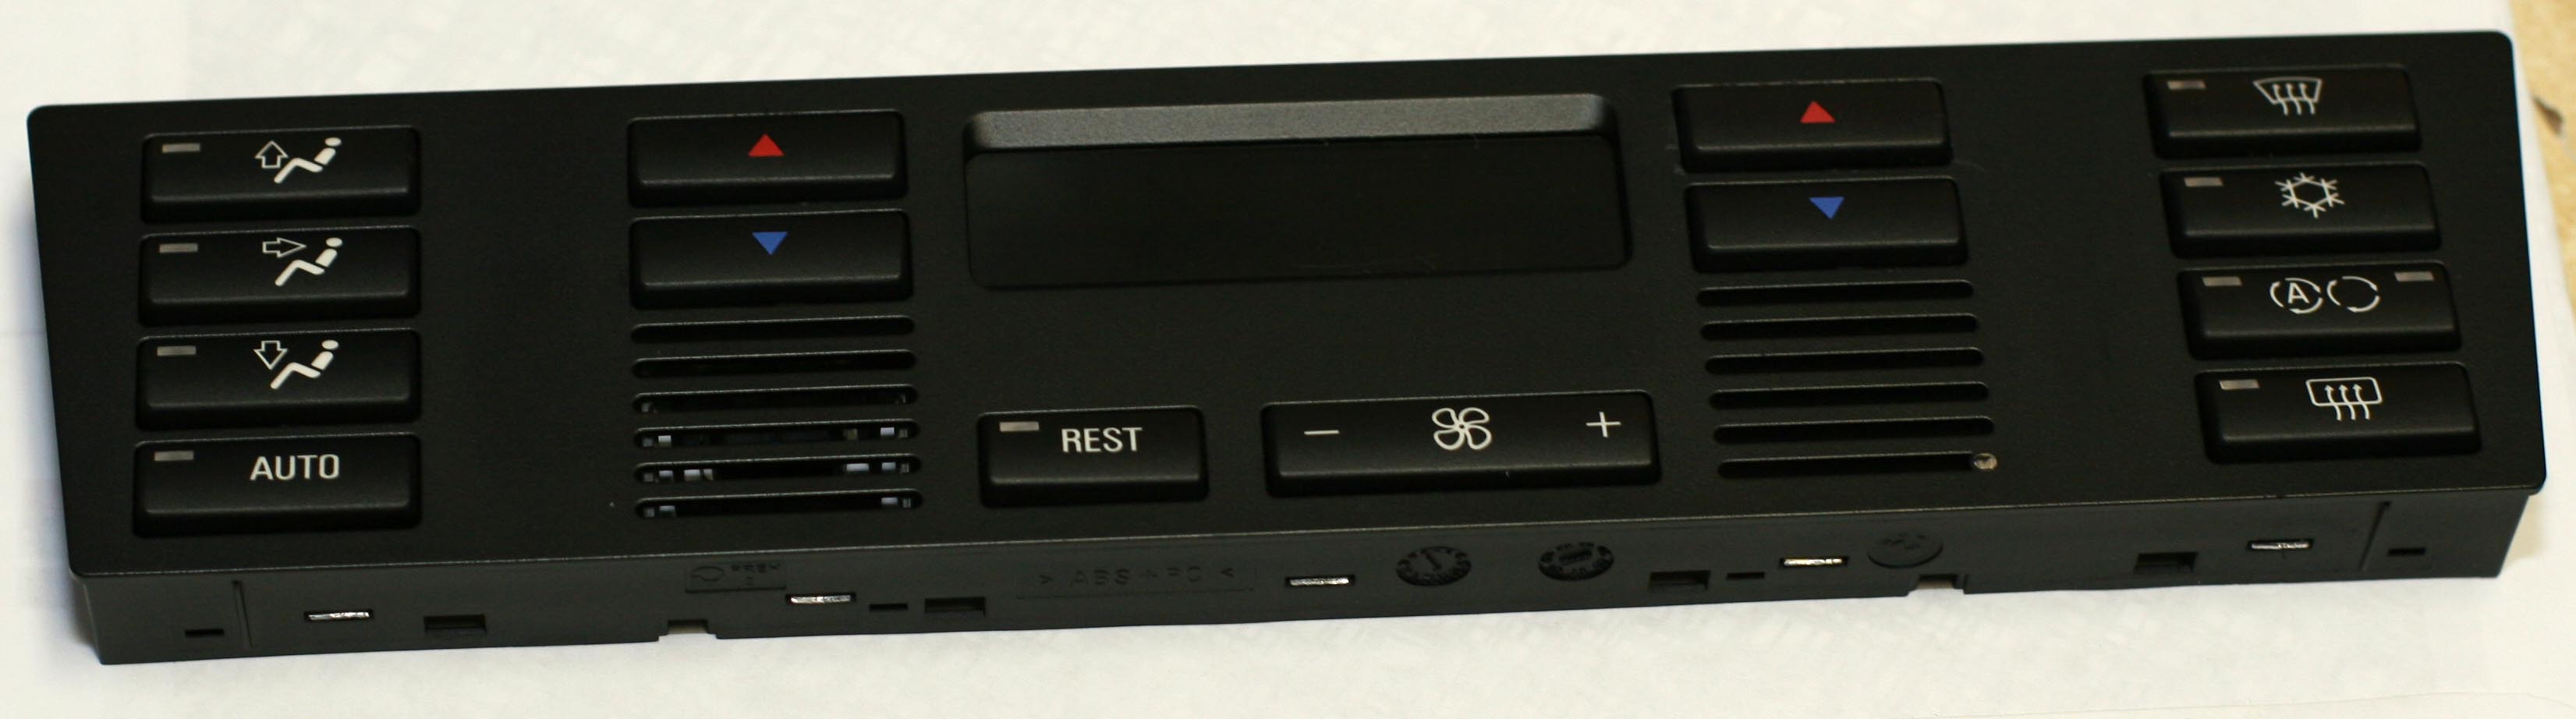
Reassembled panel
Hope this stops someone from making the same mistake I made.
Bryan A. Thompson
Details
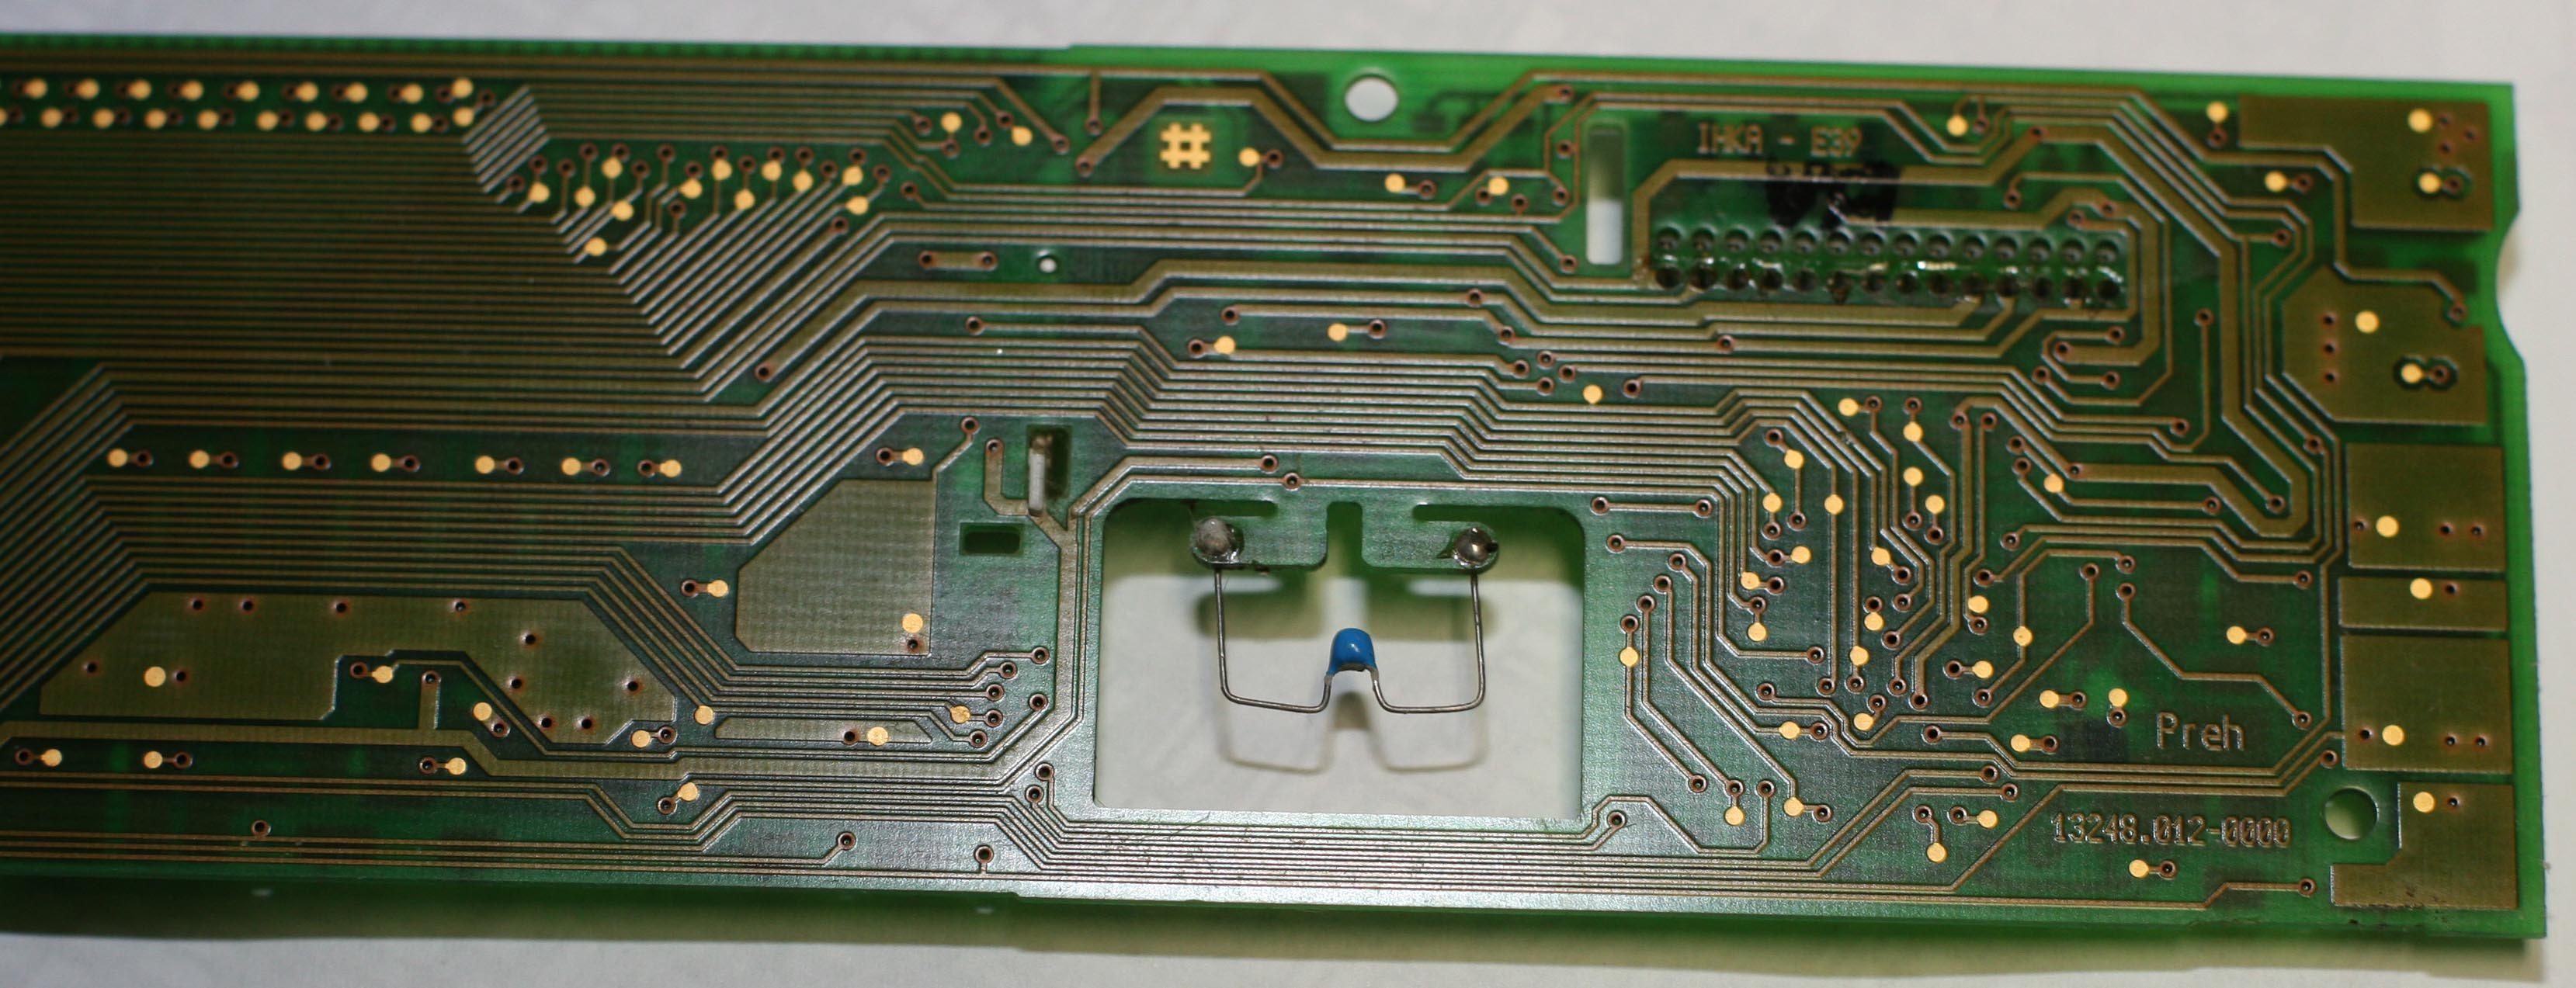
Board Rear after cleaning around thermistor
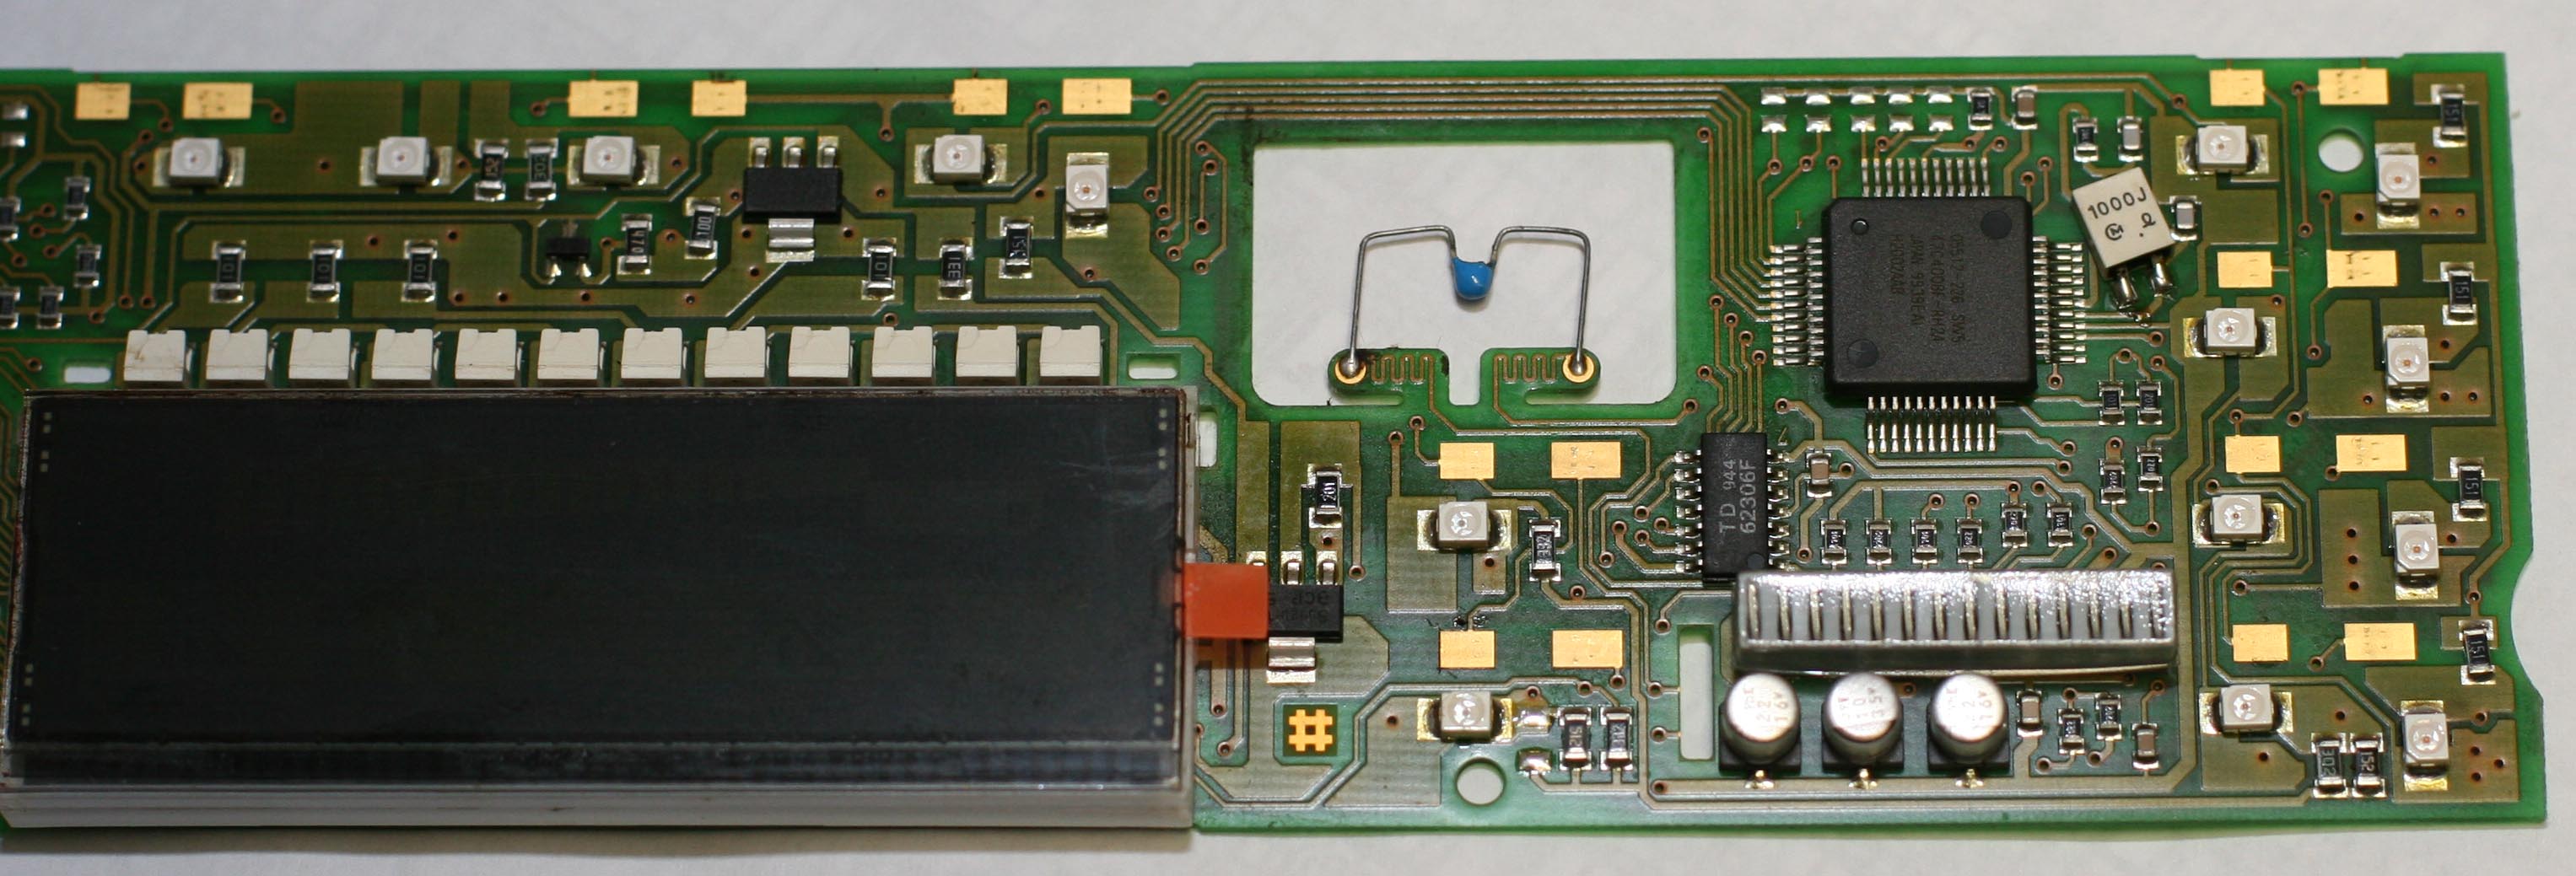
Board front after cleaning around thermistor
Rear Closeup with contacts installed 1
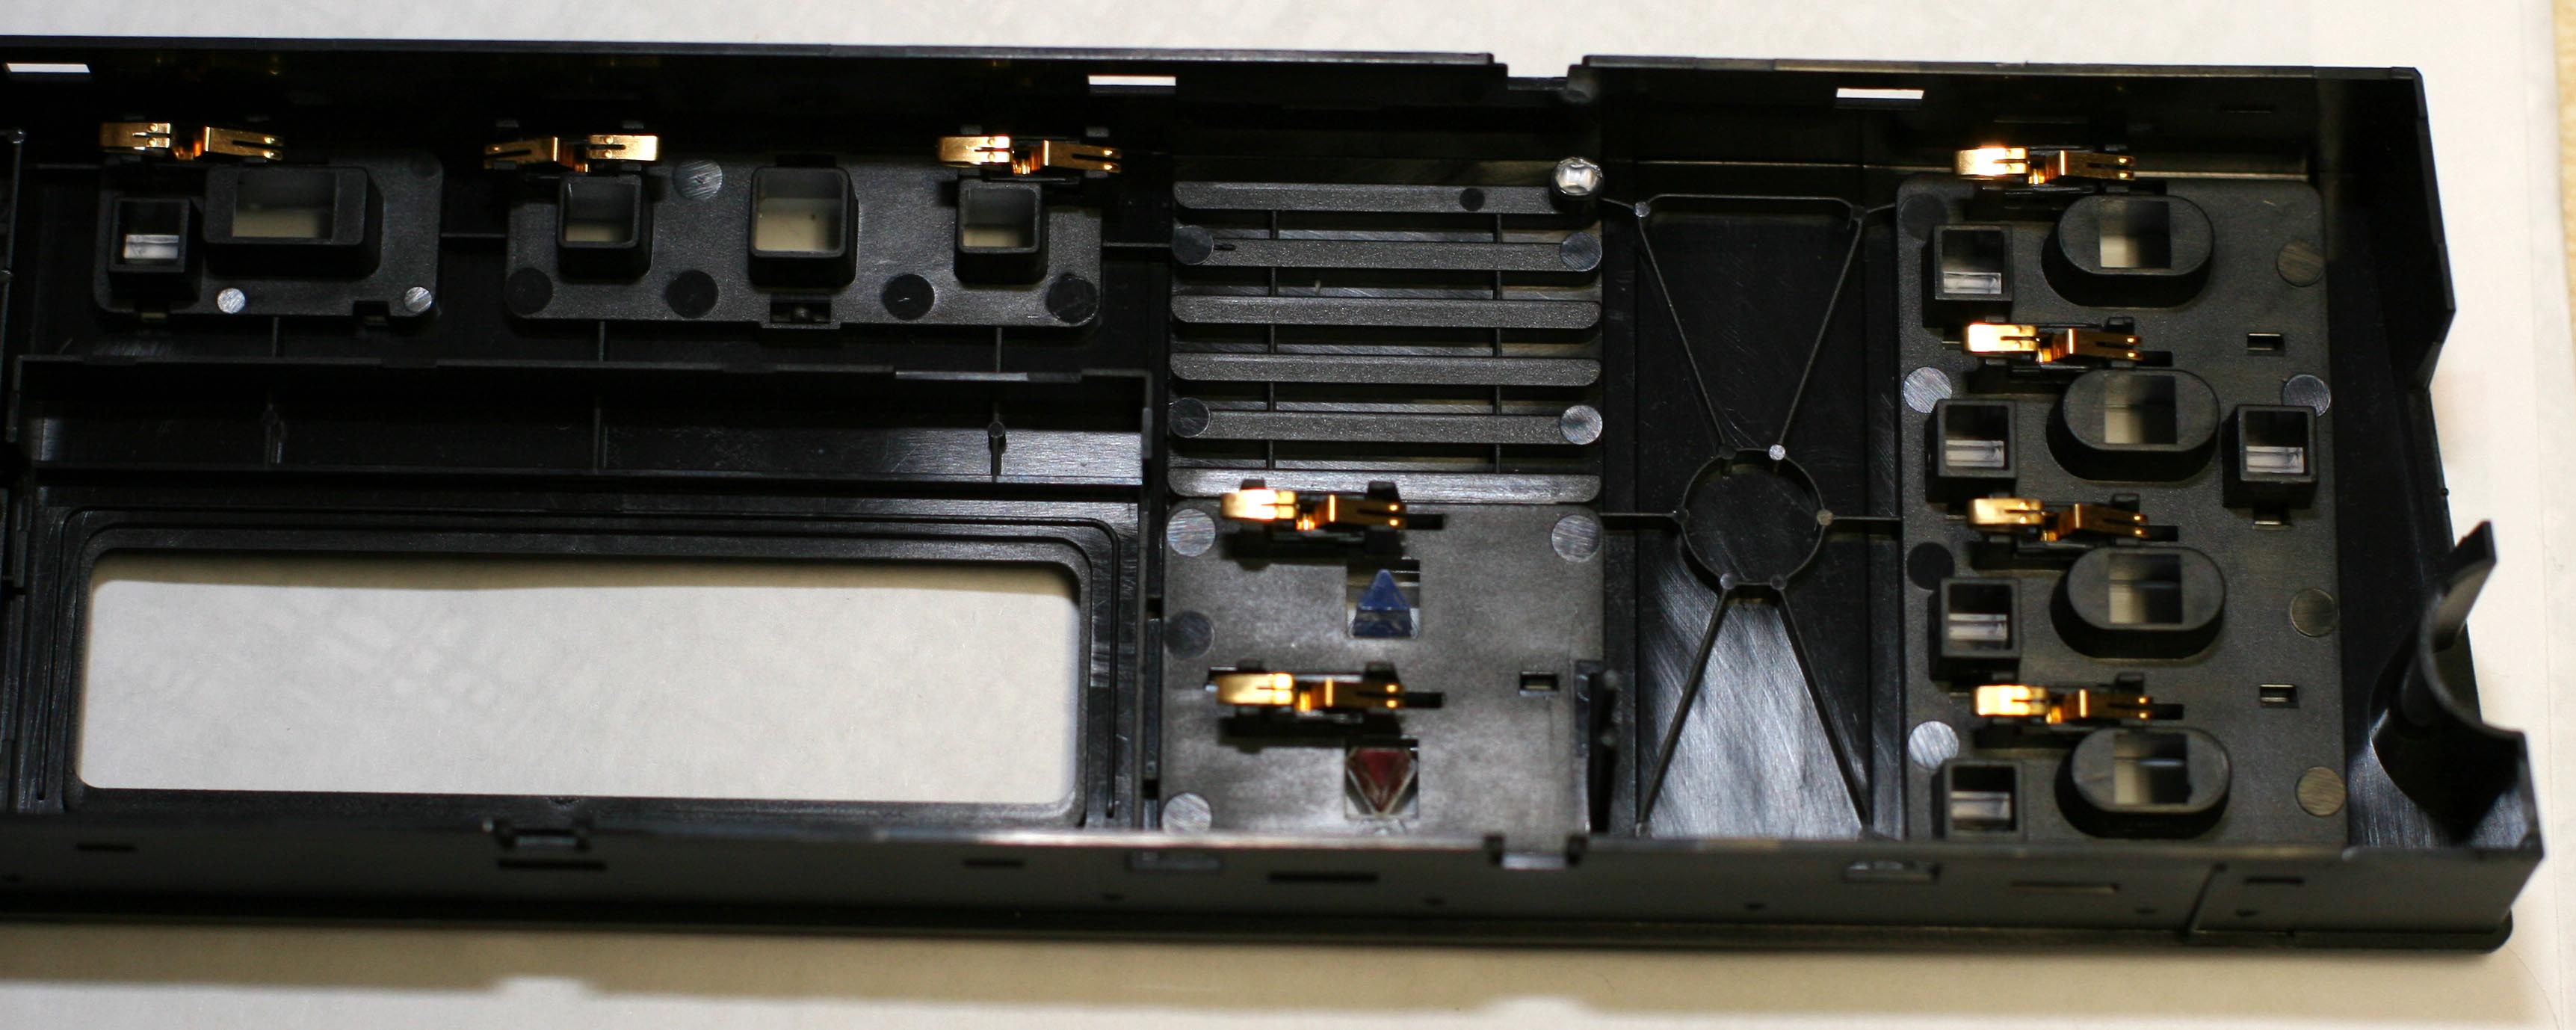
Rear Closeup with contacts installed 2
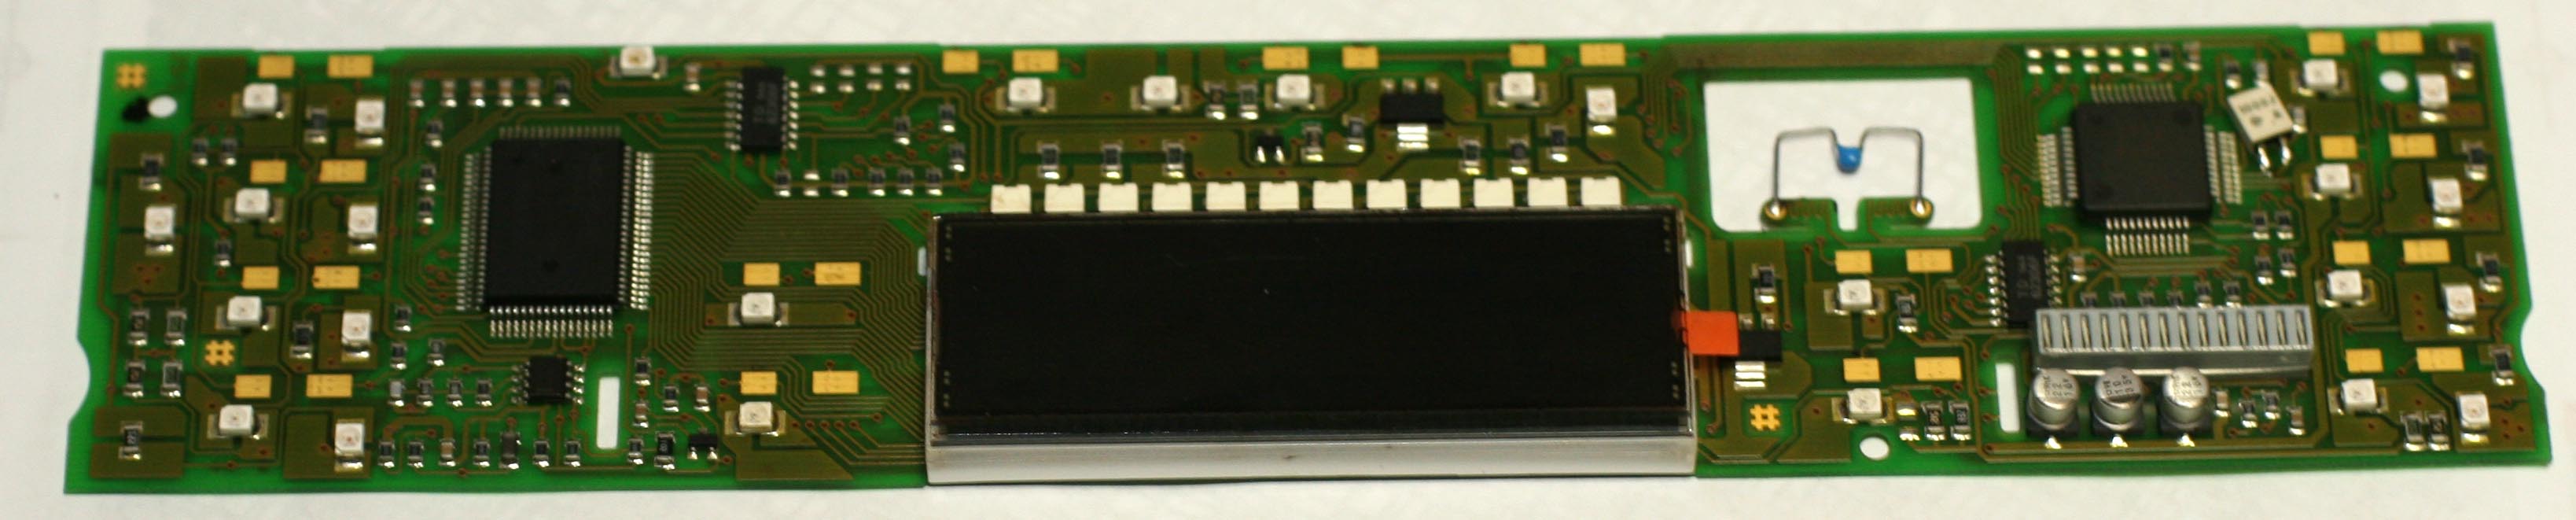
Board front whole
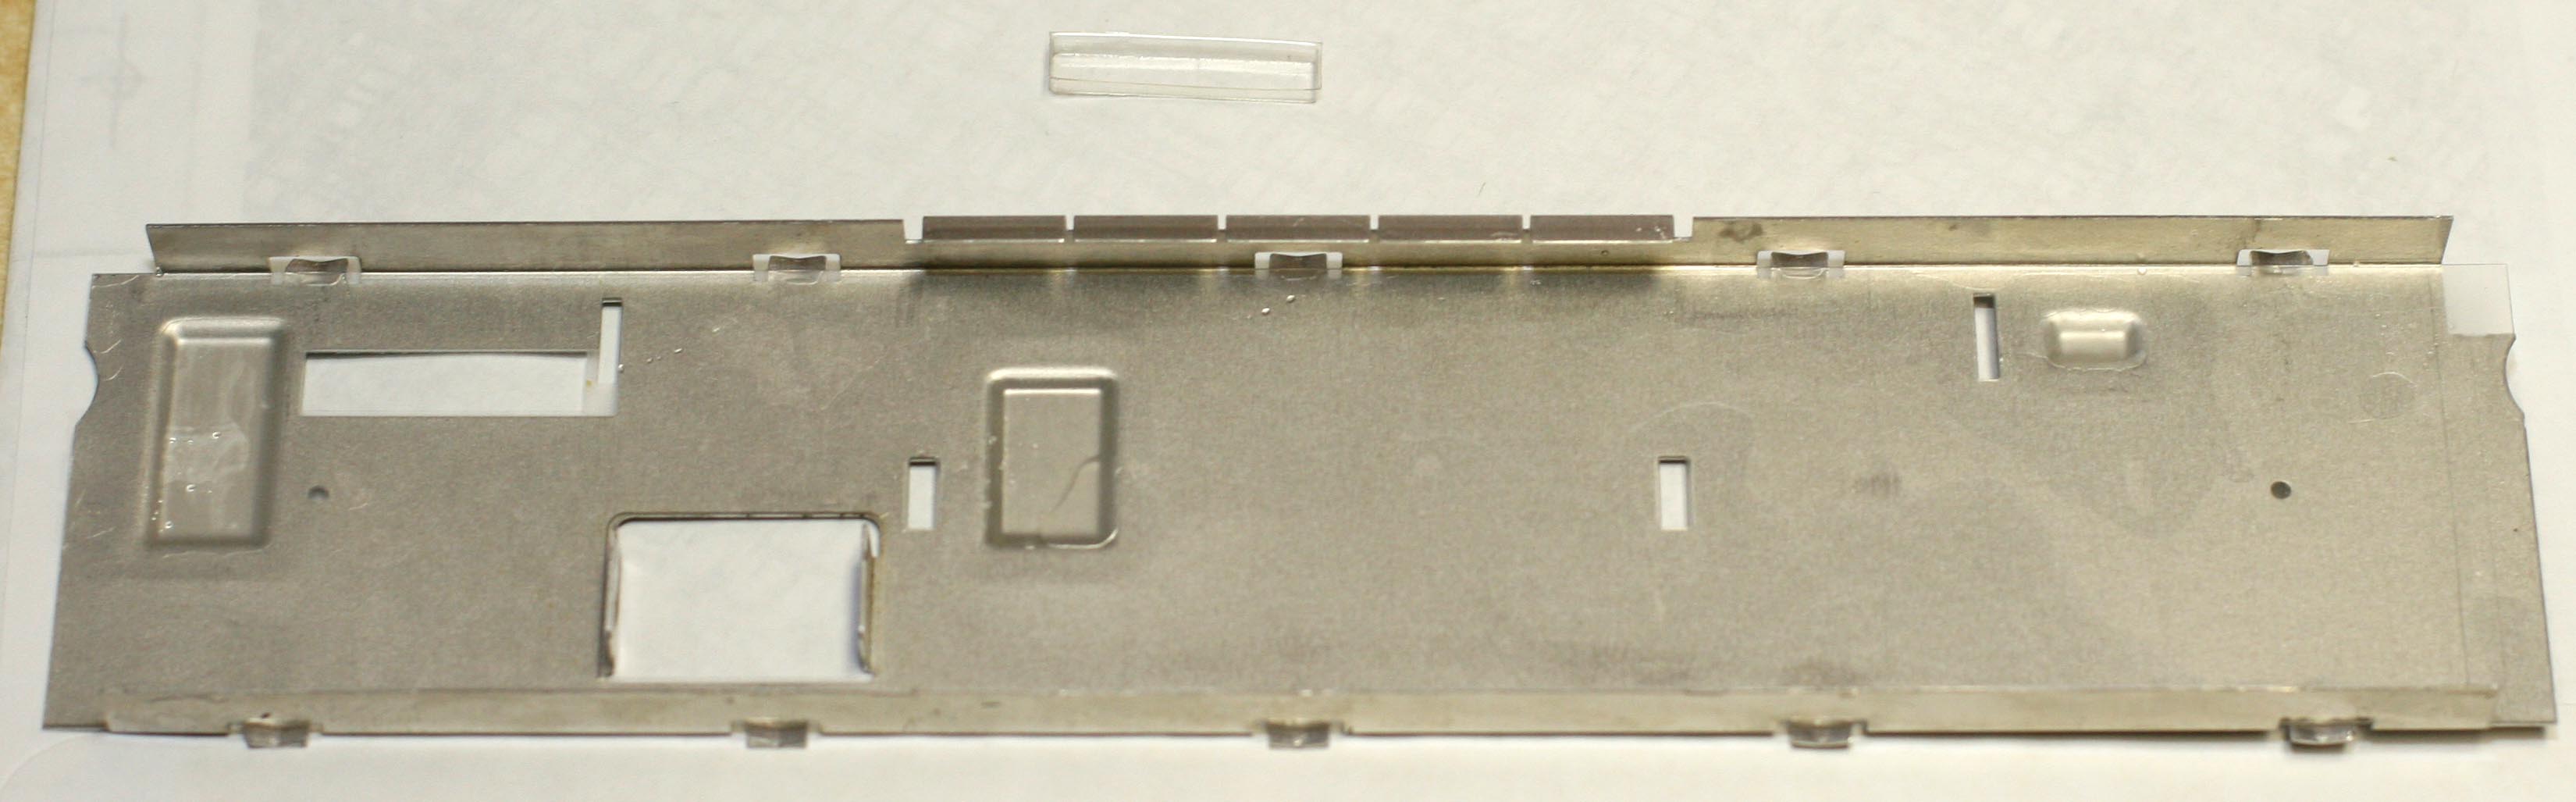
Metal backer plate and clear LED cover
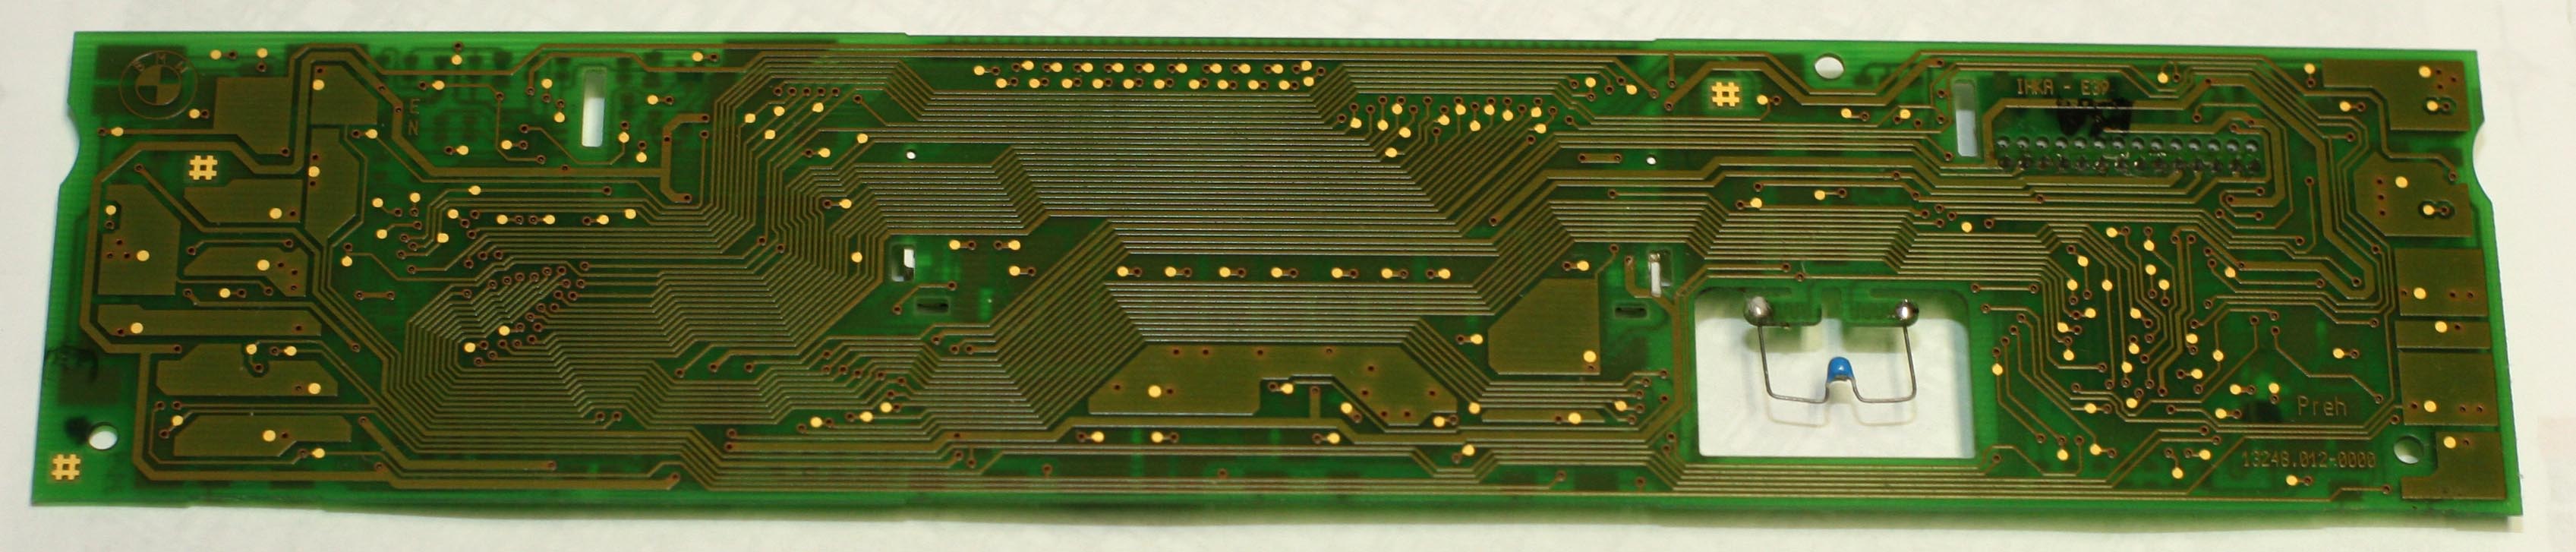
Board rear whole