by Bryan A. Thompson
Last Updated 08/21/2011
Note: You may click on any image to see the full-size version.
Warning: This is a technical explanation of how to create sprites using sprite editor software, and how to port those sprites to Gameduino. The author claims no artistic ability!
Software You'll Need
This tutorial uses Tile Studio for editing. It can create 16x16 pixel tiles at 4, 16 or 256 color. It can animate sequences of tiles to show how something will appear when flipping between tiles.
Configuring TileStudio for Gameduino
- Click Here to Download Tile Studio (Free)
- Unzip the files in the ts.zip file to a folder on your hard drive.
- Click on the ts.exe to launch Tile Studio.
- Click File / New Tile Set to create a new TileStudio project.

- Choose an identifier, and sprites of 16x16 size, with no overlap.
- Choose Palette / 256 color palette.
Note: The current color and the transparent color are shown below the 256 color palette on the right-side of the display.
- The first tile in the series is displayed. The pixels that haven’t been changed yet are shown in the transparent color.
Creating Sprites
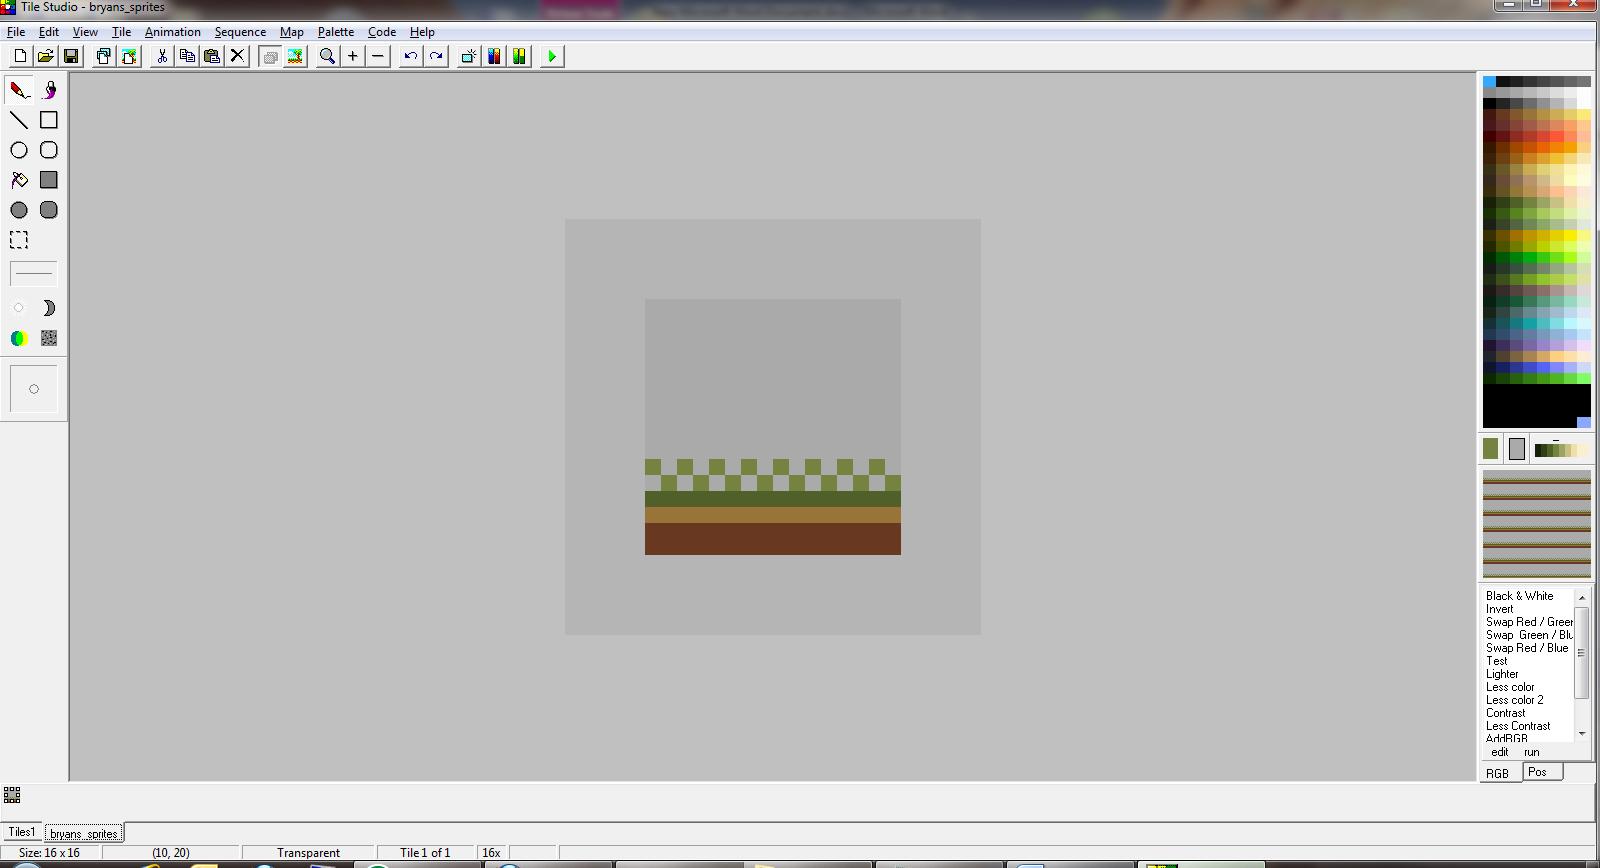
- Choose the pencil tool from the toolbar at the left.
- Choose a color from the palette at the right, and create a sprite in the center square. In this case, I’ll make something that vaguely resembles grass. Okay, maybe Atari 2600 grass...
- To create the next tile in the sequence, choose Tile/Add New Tile.
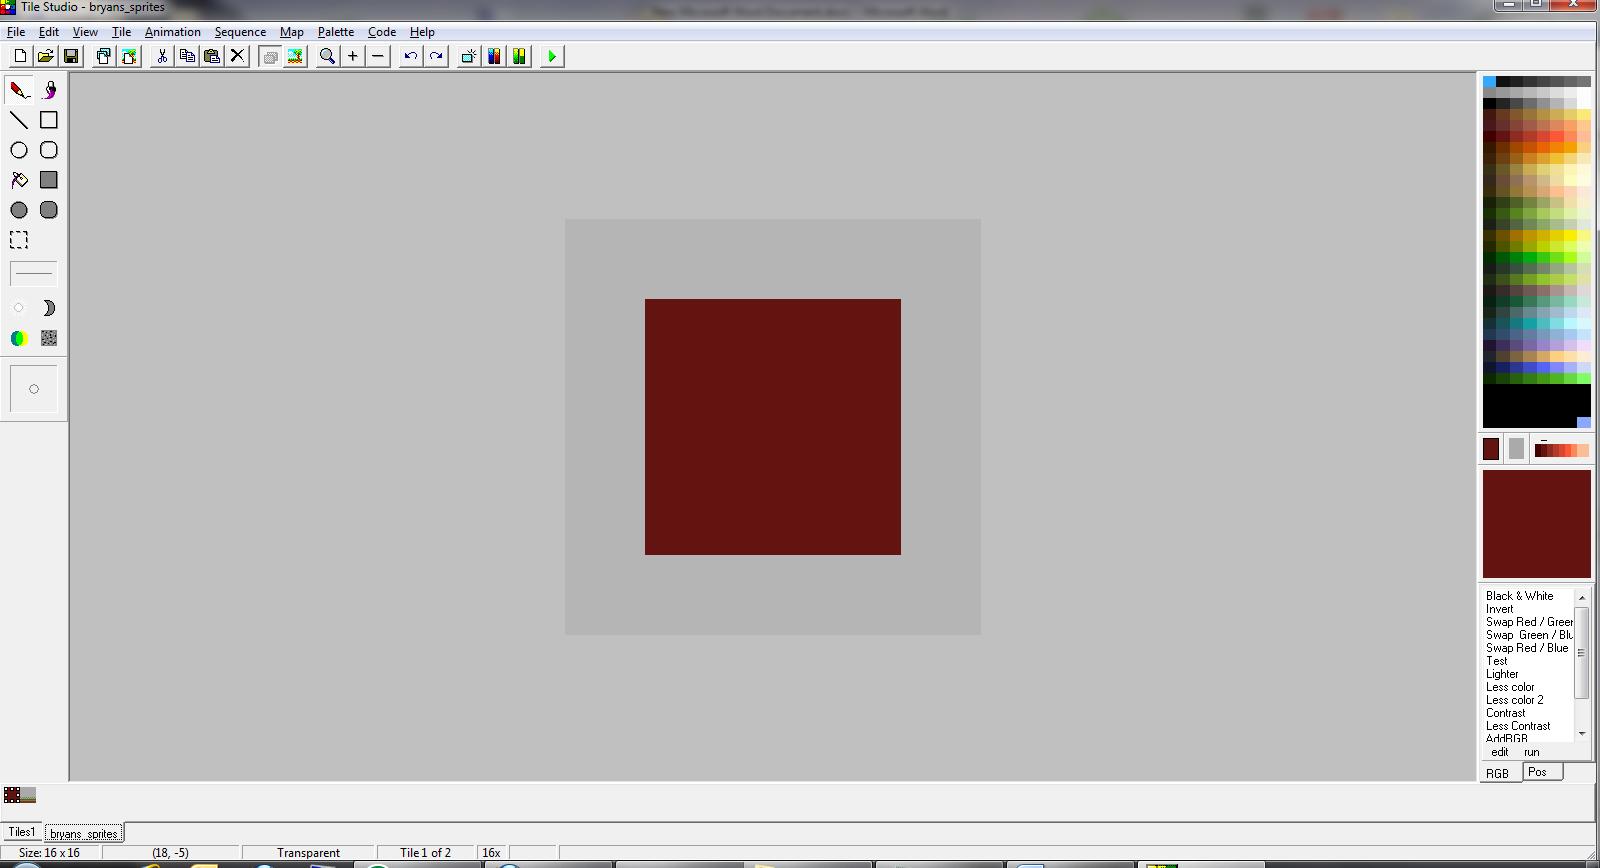
- For the next slide, I’ll create a brick design. I chose brick red as a color and filled in the 16x16 sprite.
- Next we select black and draw in the grout (the spaces between the bricks). I tried to design this so that if I want to stack them end-to-end or above one another, the grout lines will line up. Here’s what I came up with:

- Repeat steps 5-7 to create a series of sprites.
- Save the tile set by choosing File/Save. Then choose the location to save the files. Finally, click Save.

- A filmstrip of slides is shown starting at the bottom left of the screen. Switch between slides by clicking on the slide you want to edit, or by using the Tile/Next Slide or Tile/Previous Slide menus.
Exporting the Sprites to an Image
- When you’re finished creating tiles, they need to be exported to a graphic that can be interpreted by the Gameduino tools.
- Choose File / Export Tiles...

- Enter 128 in the Total Bitmap width field. Leave 0 outer and inner border. Choose a border color that is NOT in use in any of the sprites, and check the “Transparent color at bottom-right corner” checkbox.
- Click Export.
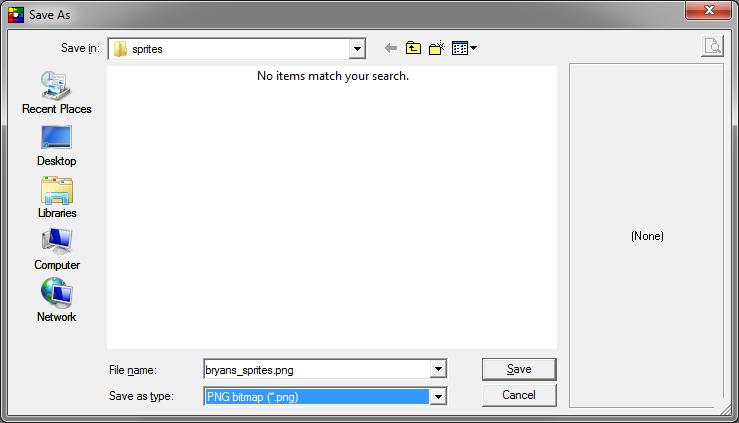
- Choose a location for the file, Enter a name for the file, and select “PNG bitmap” as the file type, then click Save.
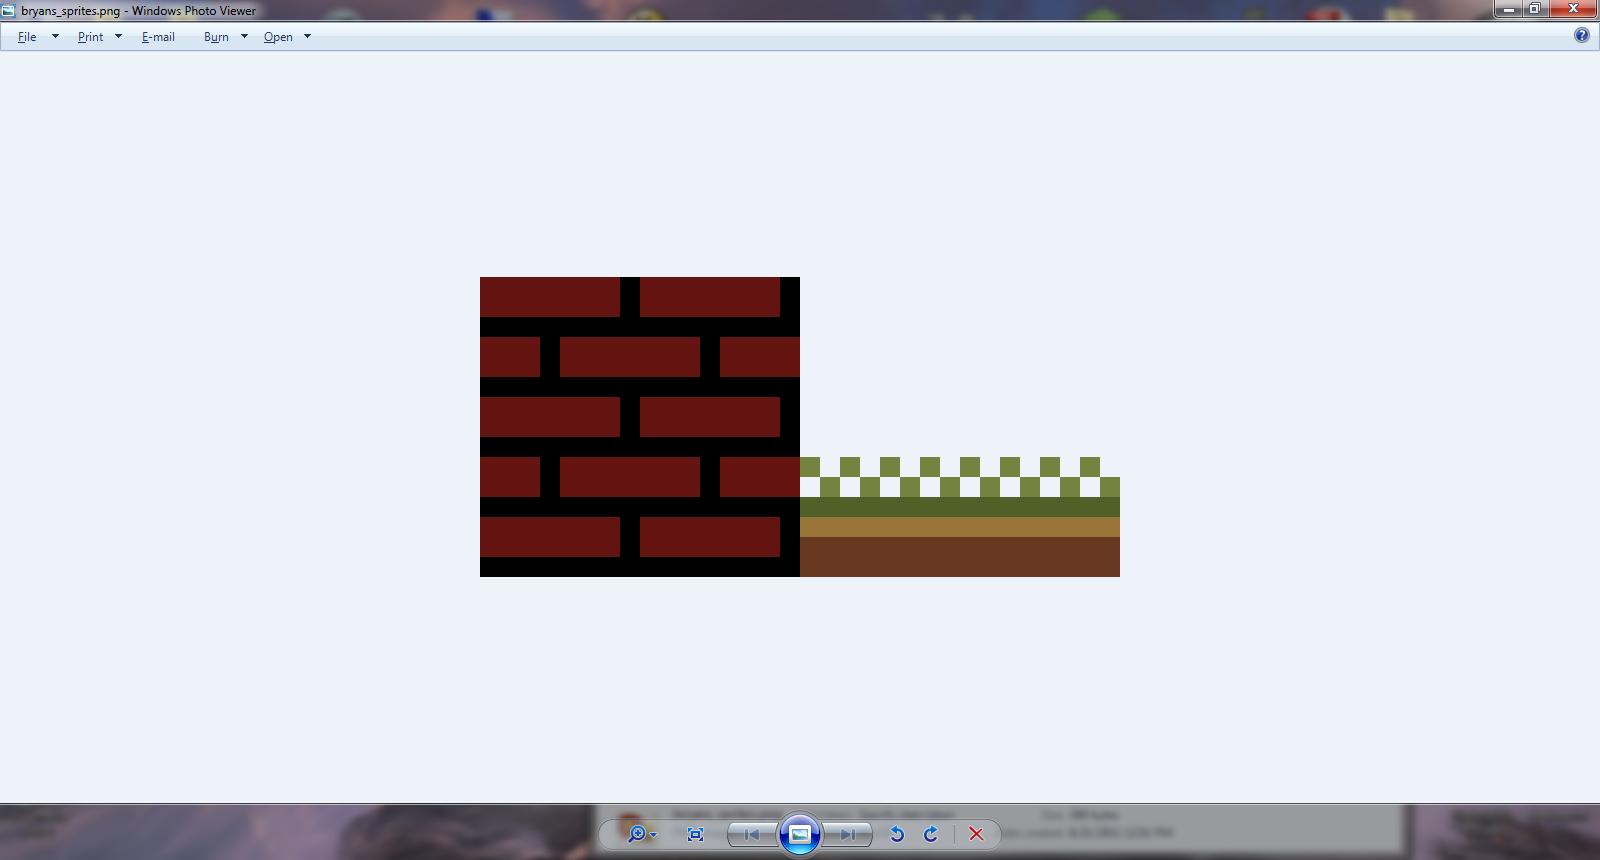
- Here’s what the image looks like in a photo viewer, when zoomed way in:
Converting the Image to Arduino / Gameduino Code
It is necessary to convert the image produced by Tile Studio into code used by the Arduino and Gameduino.
A Note about Memory: The Gameduino can hold a total of 64 sprites which are 16pixels x 16 pixels x 256 colors in size. If you get an error when you try to convert the image using the Gameduino tool, it’s probably because the image you submitted is larger than 128 x 128 pixels, or it has a color palette larger than 256 colors.
- Browse to http://gameduino.com/tools:

- Click “sprite sheet encoder”:

- Select the PNG Bitmap file you created in Tile Studio, enter a name for the sprite file (it’ll be the name you enter here, with ‘.h’ as the file type), select Palette256A, and select width 16 and height 16. Then click Submit Query.
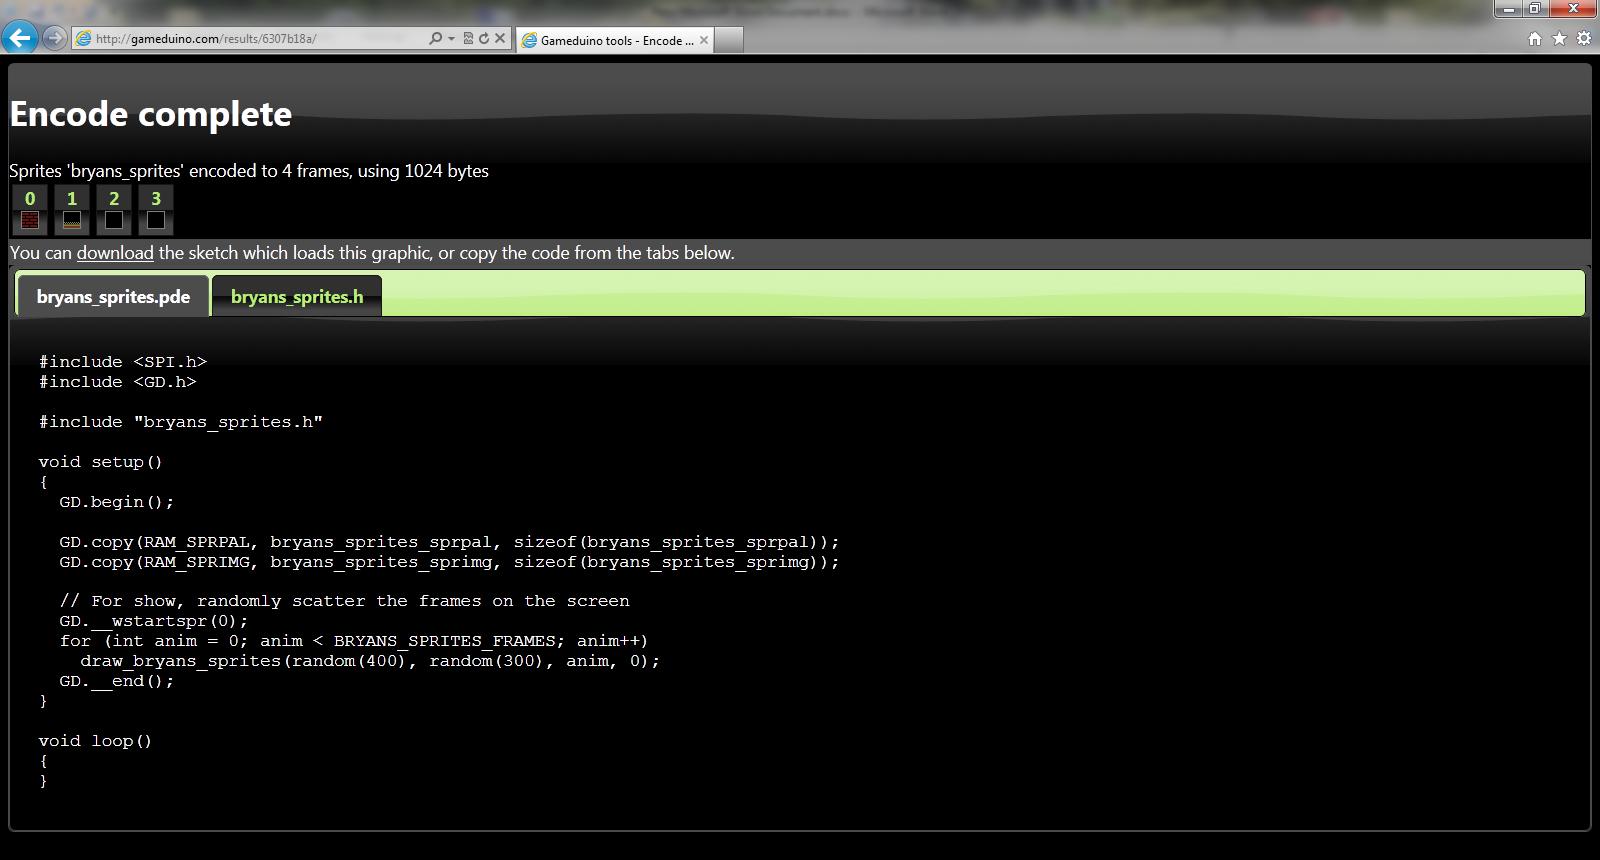
- The tool creates two files – a PDE file that is loaded on the Arduino which loads the sprites onto the Gameduino and then animates the sprites on the screen, and a H file which contains information about the sprites.
- Click the “Download” link at the top of the page to download a ZIP file containing both files created by the Gameduino tool.

The files are ready to be loaded onto Arduino/Gameduino for testing, and to be incorporated into your game.
